How To Shoot Professional Interviews
You can easily learn to shoot professional interviews without lots of technical experience. Follow this guide on lighting, positioning, sound, and more.
How Do You Film A Good Interview?
There are many factors to consider when filming interviews: light, background, sound, angles, and more. The magic is if you're filming on your own, one camera is enough. Below are some key tips and tricks to ensure the footage you record is interesting and of great quality. Learn some new techniques for filming interviews that will make you stand out from the crowd.
How Do You Shoot Professionally?
Lighting
One of the main factors that set a professional production apart from an amateur one is lighting. Here are some points to consider:
- While it's possible to get a decent shot using available light, we recommend using at least two lights to give your scene depth and your character definition.
- You should aim for your subject to be slightly brighter than the rest of the shot. People's eyes are attracted to the brightest area of the screen and their attention naturally falls onto your character's face.
- When interviewing someone the light should be stronger on one side of the character's face. This gives the image a sense of depth and pops your subject out from the background.
Exposure
Exposure is simply the amount of light that is recorded at any one time. The correct exposure means your subject matter is neither too bright nor too dark. While this may sound simple it can be difficult to get all areas of the image properly exposed.
- Interviewing someone in front of a window on a bright day often causes the window to look like a bright solid block of white in the background. This will distract your audience.
- Cameras are far less tolerant to varying areas of bright and dark than the human eye so it's important to check what the camera is seeing rather than what your eyes see.
- You can often use lights and reflectors to balance out a scene. But you may need to switch off the room's lights, cover windows and even replace light bulbs in order to get a good balance.
Depth Of Field
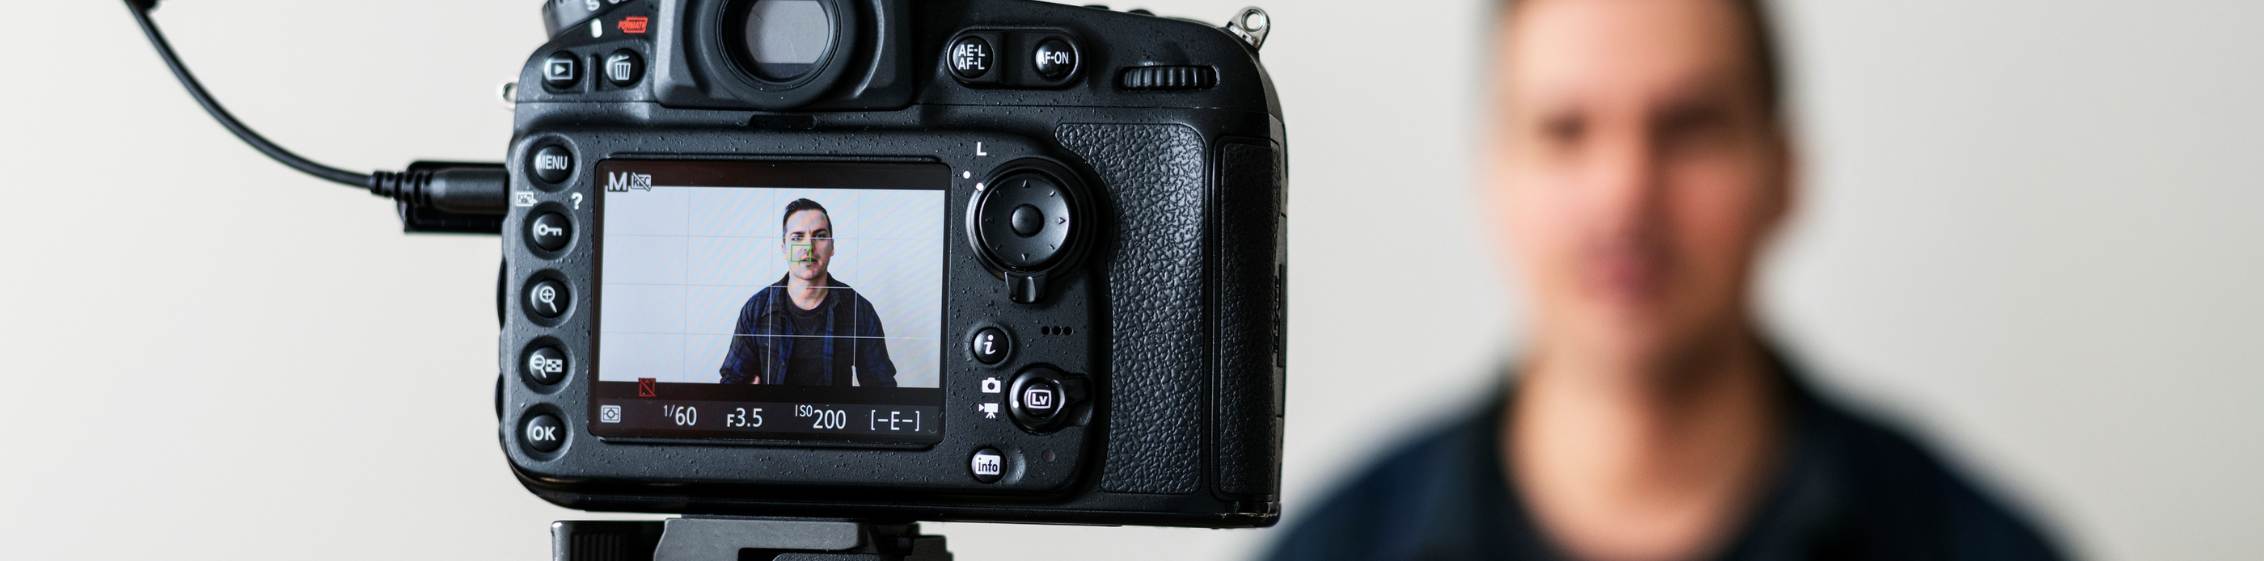
Your choice of depth of field will determine how much of your image is in focus. A shallower depth of field means that a small area is in focus and the background is blurrier. What is and what isn't in focus will determine where viewers' attention falls.
The depth of field is determined by the size of your camera's sensor and how wide the aperture lens is.
If you ensure the background is slightly out of focus you will draw people's attention to the person you are interviewing. Placing your subject even further away from the background will heighten this effect and will help overcome camera and lens combinations that struggle to achieve a shallow depth of field.
White Balance
All light has a particular temperature and your camera needs to be set correctly for the local lighting conditions. If the white balance is set incorrectly images will have an undesirable blue or orange hue.
Multiple light sources can make things tricky so you should try to have one type of light source if you can.
Sound Proximity And Levels
Sound quality is often an afterthought on amateur productions but bad sound is an unforgivable mistake. Viewers are much more tolerant of bad image quality than bad sound. Good microphones don't have to be expensive and remember that sound is half your production!
- The most basic factor when recording sound is getting the sound level right. Virtually all sound recording devices will allow you to make your recording louder or softer, your job is to monitor the sound and keep it at a consistent and safe level. There is no exact standard level but having your levels peaking at about -6dB is a safe bet.
- Ensure you get a clear recording free of background noise and room echo. This is best achieved by placing the microphone as close as possible to the source of your sound (without it being in the picture). This allows you to lower the level of your recording device, which will give you a cleaner recording and will eliminate more of the background noise.
How Do I Learn To Shoot Professionally?
If you are looking for more guided, hands-on experience to improve your footage and learn from some of the UK's top industry experts, you should consider taking our two days Filming and Editing Interviews course in London. Gain the expertise to produce beautifully-crafted and engaging interviews.


